Configure the shipping address screen
Learn how to configure the shipping address screen.
Double-click the Shipping Address Screen to open the Edit Screen.
Type
drb2b_drUtilin the Search components field and click drb2b_drUtil.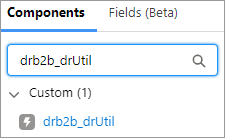
Drag the drb2b_drUtil pane to where you want it to appear on the Edit Screen.
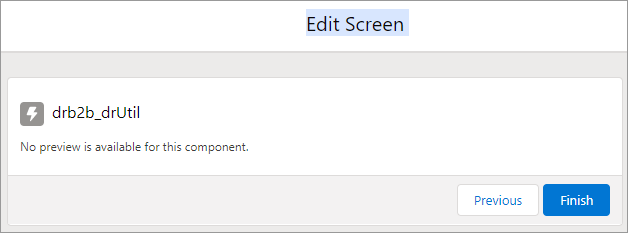
Type the API name (for example,
drUtil) in the API Name field.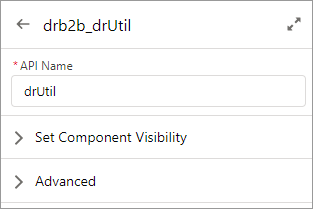
Type
drb2b_buyerInfoin the Search components field and click drb2b_buyerInfo.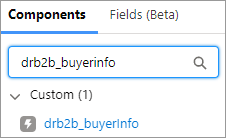
Drag the drb2b_buyerInfo to where you want it to appear on the Edit Screen.
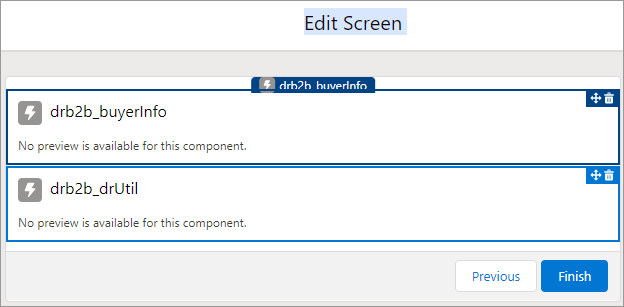
Enter the following values in the fields. Be sure to click through all designer attributes to ensure that Salesforce registers the default values.
API Name: Type
BuyerInfoor any other name with no restrictions.Cart Id: Type
{!cartId}.Enable Tax Certificates: Type
{!$GlobalConstant.False}Shipping Address ID: Type
{!contactPointAddressId}. Note: The Shipping Address ID field appears in the Advanced section when you select the Manually assign variables checkbox.Show Shipping Address: Type
{!$GlobalConstant.True}.
See Buyer info component for more information.

Click Save As.
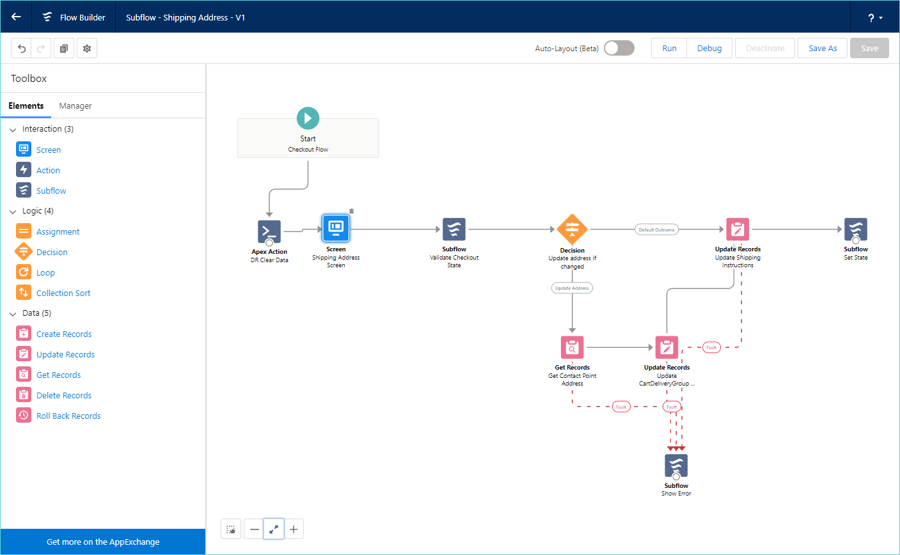
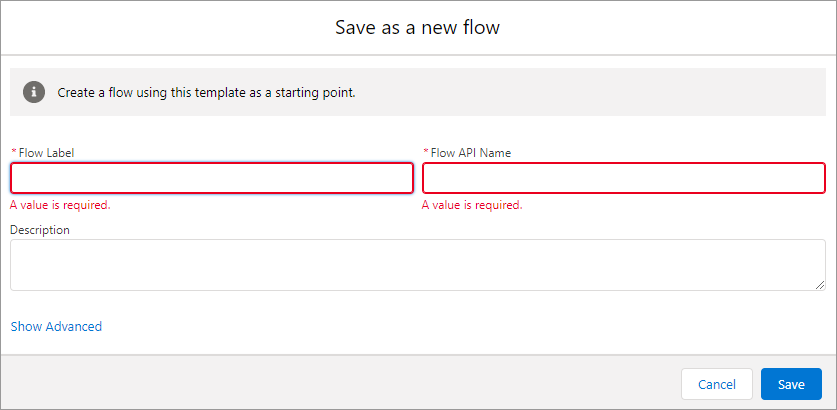
Enter the name of the custom subflow in the Flow Label field (for example, DR Shipping Address) and the subfIow API name in the Flow API Name field, and click Save.
Click Activate.
Last updated