
Upgrading to version 2.0
Learn how to upgrade from previous version to version 2.0.
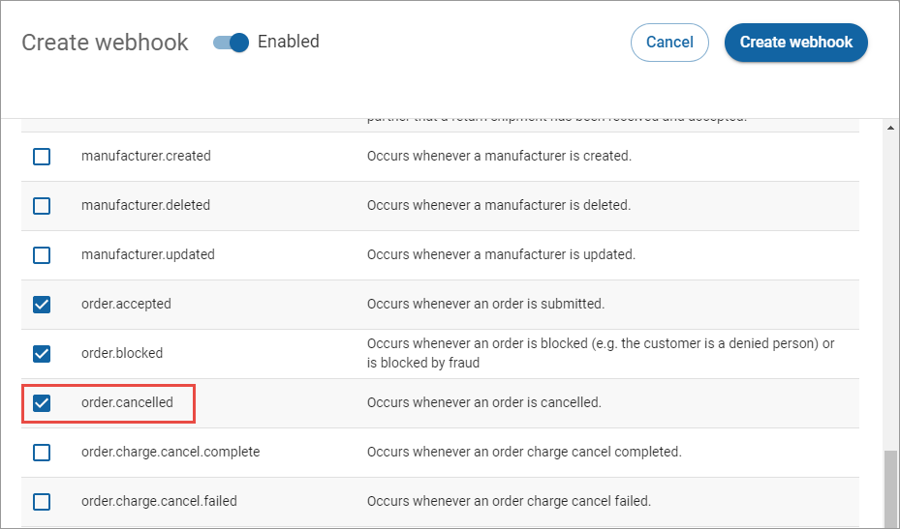
Enable the order.cancelled event from the Webhooks page on the Digital River Dashboard. See Step 11 for complete instructions.
Click Setup
 and select Setup from the drop-down list.
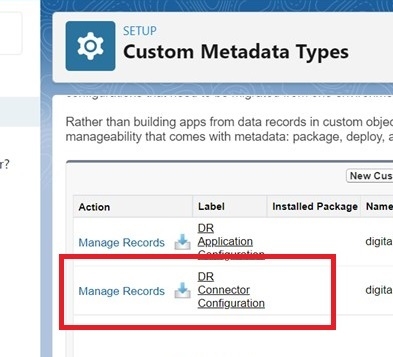
Locate the DR Connector Configuration metadata type from the lists (Label) and click the Manage Records action next to that type selection.
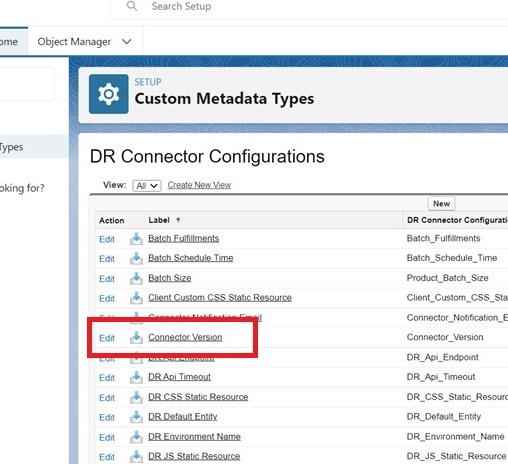
Find the Connector Version setting (Label) on the DR Connector Configurations page. Click Edit next to the Connector Version setting.
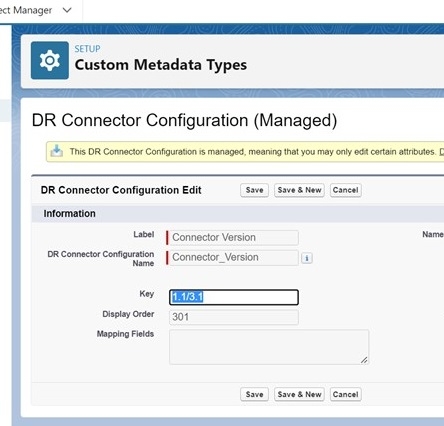
Update the Key value for the Connector Version to the version mentioned at the beginning of this step or as instructed by your project manager.
Last updated