Configure the Place Order Confirmation screen
Learn how to configure the Place Order Confirmation screen to use in a synchronous checkout flow.
Use the following steps to configure the Place Order Confirmation screen in a synchronous checkout flow.
If you are configuring for the first time, drag a screen node into the flow and drop to the right of the Payment and Billing Address screen created in the previous topic.
Enter the following information:
Label: PlaceOrderConfirmation
API Name: PlaceOrderConfirmation
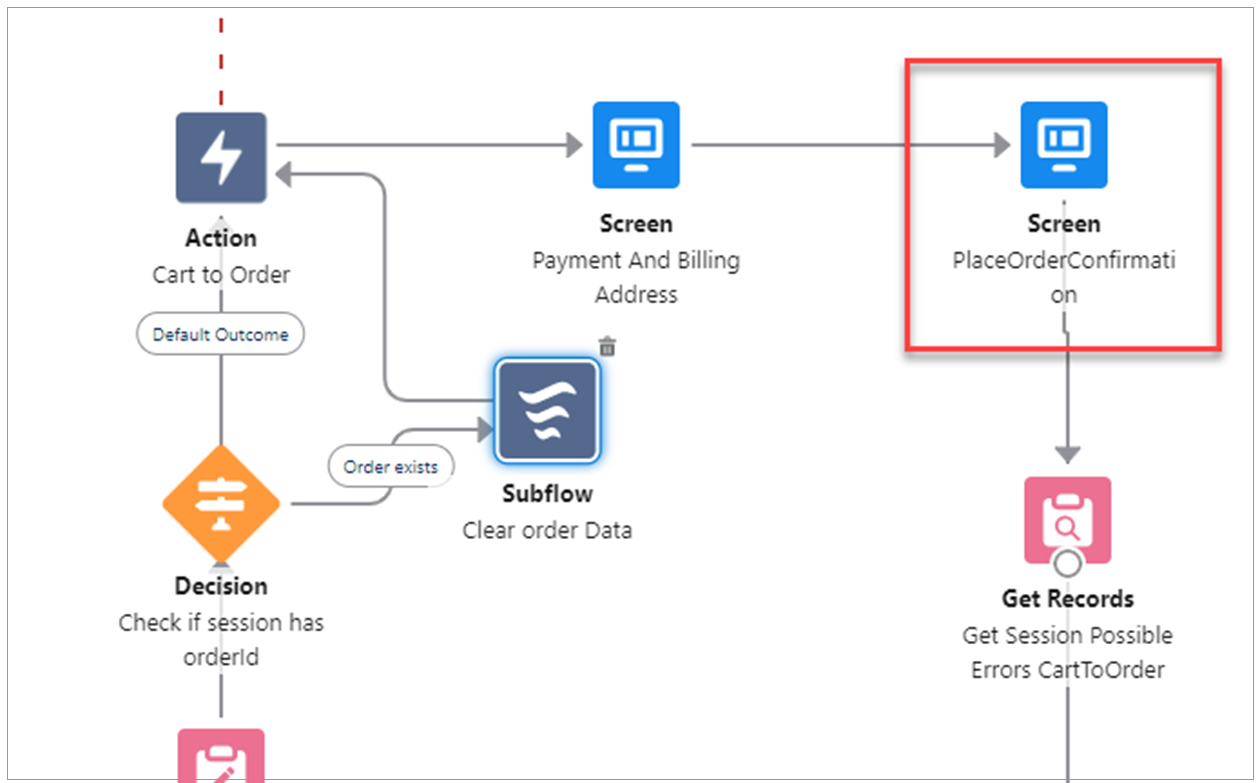
Click on custom screen PlaceOrderConfirmation.
Type
drb2b_paymentDetailsin the Search Components field and click drb2b_paymentDetails.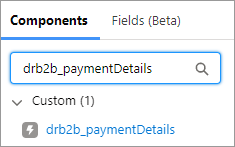
Drag drb2b_paymentDetails to where you want it to appear on the Edit Screen.
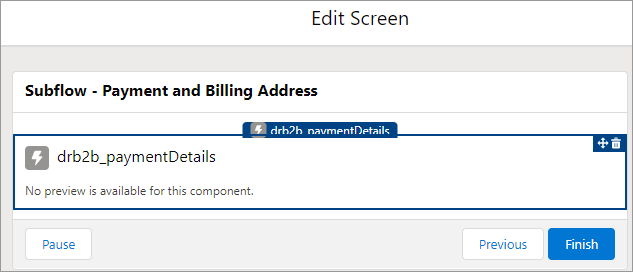
Enter the following values in the fields:
API Name: Type
paymentDetailsor any other name with no restrictions.Cart Id: Type
{!cartId}.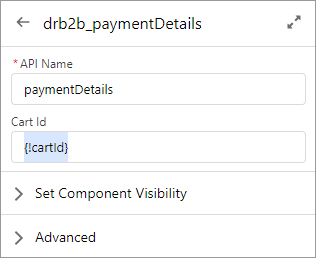
Type
drb2b_orderSummaryin the Search components field and click drb2b_orderSummary.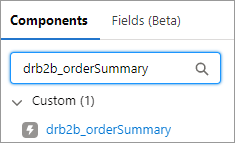
Drag drb2b_orderSummary to where you want it to appear on the Edit Screen.
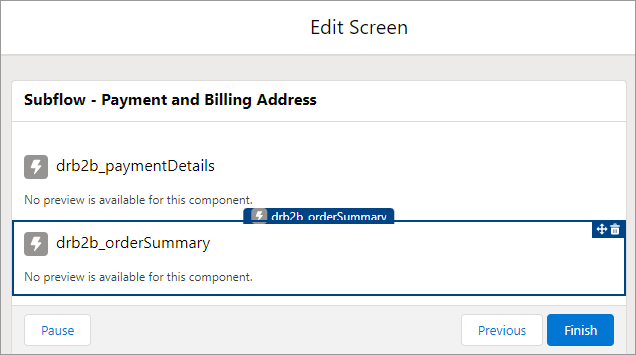
Enter the following values in the fields. Be sure to click through all designer attributes to ensure that the default values are registered by Salesforce.
API Name: Type
orderSummaryor any other name with no restrictions.Auto Initialize: Type
{!$GlobalConstant.True}.ByPass Validation: Type
{!$GlobalConstant.False}or{!$GlobalConstant.True}(default value). Note: Set the value to{!$GlobalConstant.False}whenever you want to use thedrb2b_drTermComponenton the Place Order page. See DR terms component for more information.Place Order:
{!$GlobalConstant.True}.Record Id: Type
{!cartId}.Show All: Type
{!$GlobalConstant.True}.Show Duty: Type
{!$GlobalConstant.True}.Show Grand Total: Type
{!$GlobalConstant.True}.Show IOR Tax: Type
{!$GlobalConstant.True}.Show Place Order: Type
{!$GlobalConstant.True}.Show Promotion: Type
{!$GlobalConstant.True}.Show Regulatory Fee: Type
{!$GlobalConstant.True}.Show Shipping: Type
{!$GlobalConstant.True}.Show Subtotal: Type
{!$GlobalConstant.True}.Show Tax: Type
{!$GlobalConstant.True}.
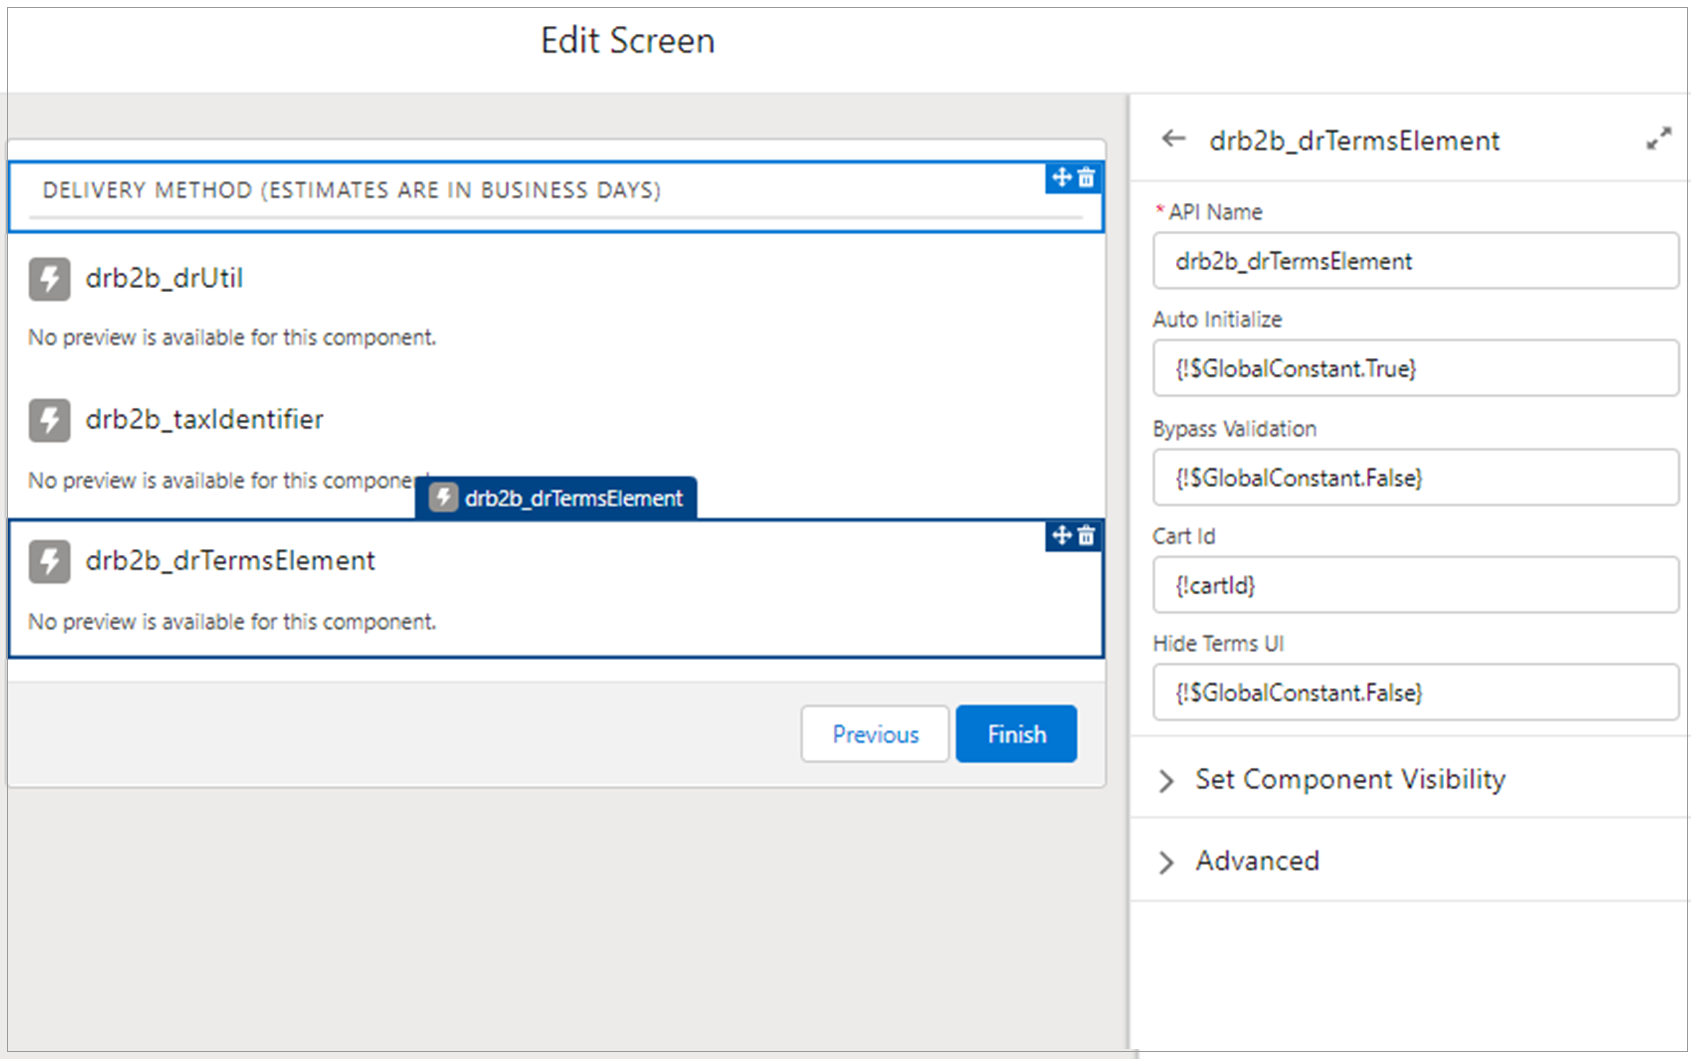
Add drb2b_drTermsElement to screen and enter the following details. Be sure to click through all designer attributes to ensure that the default values are registered by Salesforce.
API Name - drb2b_drTermsElement or any name
Auto Initialize - {!$GlobalConstant.True}
Bypass Validation - {!$GlobalConstant.False}
Cart Id - {!cartId}
Hide Terms UI - {!$GlobalConstant.False}
Type
drb2b_drUtilin the Search components field and click drb2b_drUtil .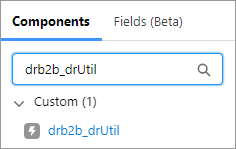
Drag drb2b_drUtil to where you want it to appear on the Edit Screen.
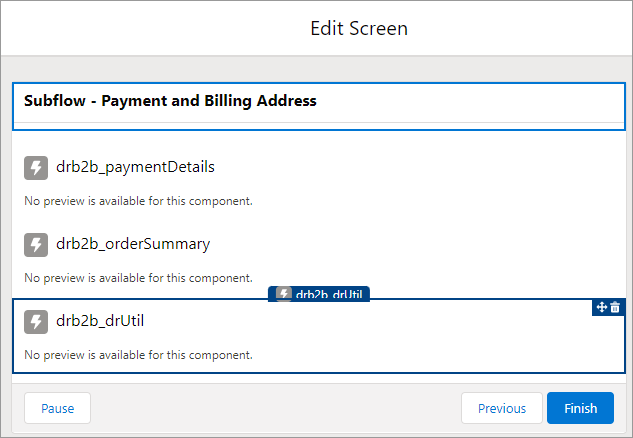
Type
drb2b_Utilor any other name with no restrictions in the API Name field.Drag drb2b_previousButton component to where you want it to appear on the screen
Enter drb2b_previousButton or any name as the API Name.
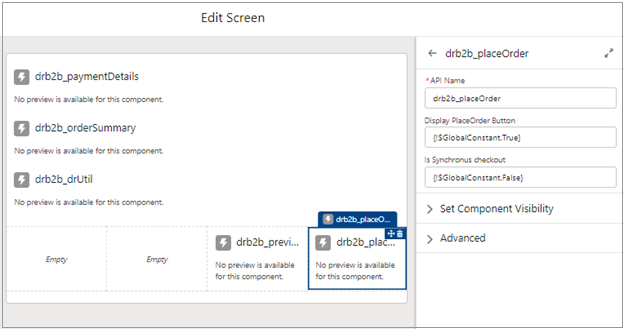
(Optional) Drag drb2b_placeOrder component from the left panel to where you want it to appear on the screen. The connector supports several options for displaying a Place Order button. To add a standalone button in the checkout flow, use the drb2b_placeOrder component.
Enter the following values in the fields. Be sure to click through all designer attributes to ensure that the default values are registered by Salesforce.
API Name – drb2b_placeOrder or Any Name
Display Place Order button - {!$GlobalConstant.True}
Is Synchronous checkout - {!$GlobalConstant.True}
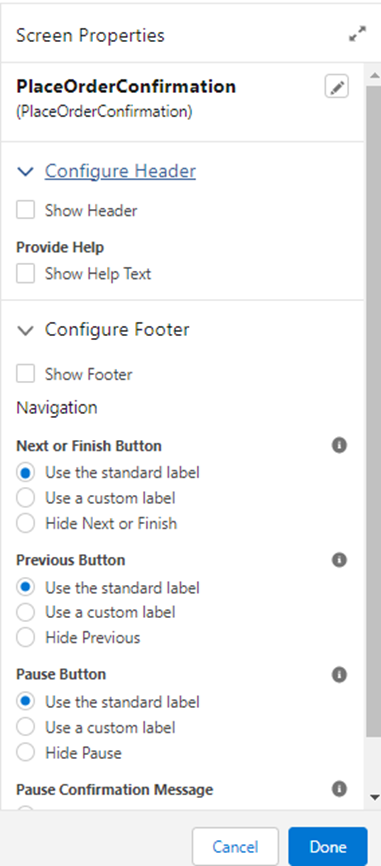
In the Screen Properties, expand the Configure Footer section.
Uncheck Show Footer. You can also hide the Next and Previous buttons on this screen.
Click Done.
If they are not already connected, connect the nodes as follows:
Add a connector from the Payment And Billing Address (Screen) node to the PlaceOrderConfirmation (Screen) node.
Add a connector from the PlaceOrderConfirmation (Screen) node to the Get Session Possible Errors CartToOrder (Get Records) node.
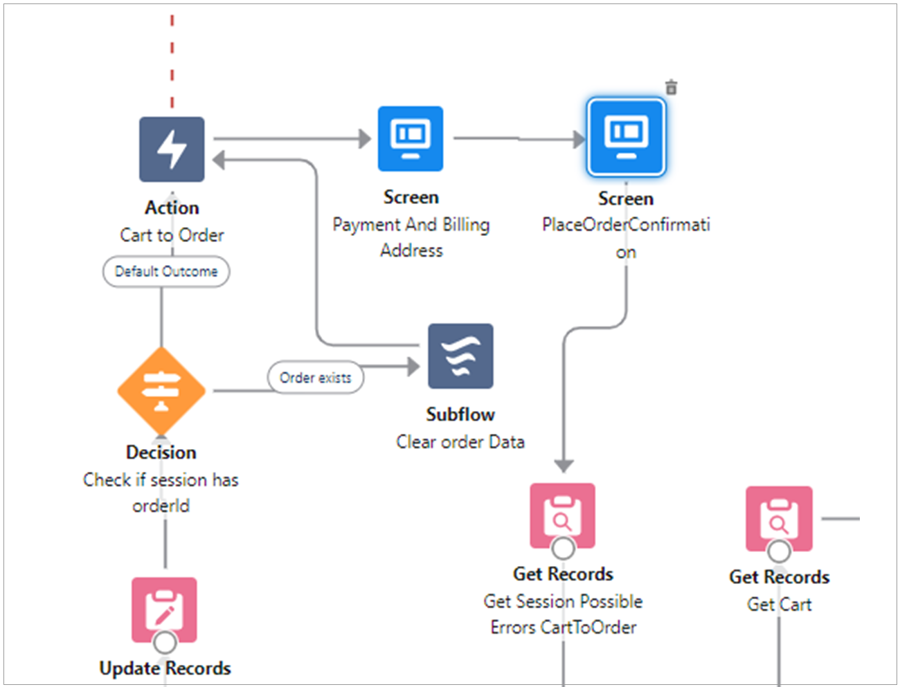
Click the Save As and Activate buttons to save and activate the Synchronous Checkout flow.
Last updated