> For the complete documentation index, see [llms.txt](https://docs.digitalriver.com/salesforce-lightning/llms.txt). Markdown versions of documentation pages are available by appending `.md` to page URLs; this page is available as [Markdown](https://docs.digitalriver.com/salesforce-lightning/salesforce-lightning-b2b-commerce-app-1.5/user-guide/tax-identifiers.md).
# Tax identifiers
Use the Salesforce Lightning app to add or delete tax identifiers. Tax identifiers can be added from the My Account page or during checkout on the Order Review screen.
## Using tax identifiers on the My Account page
The My Account page has options to either add a new tax identifier or delete existing tax identifiers. Tax identifiers can be added from either the My Account page or during checkout on the Order Review screen.
### Add the tax identifier
To add a tax identifier:
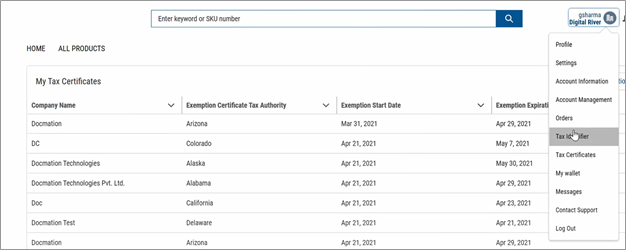
1. Sign in to the store.
2. Click **My Profile**.
3. Click **New Tax identifier**.
 4. Choose a **Country** from the dropdown menu. If a tax identifier is applicable for that country, a text field will appear. Enter the value of the tax identifier into the field.
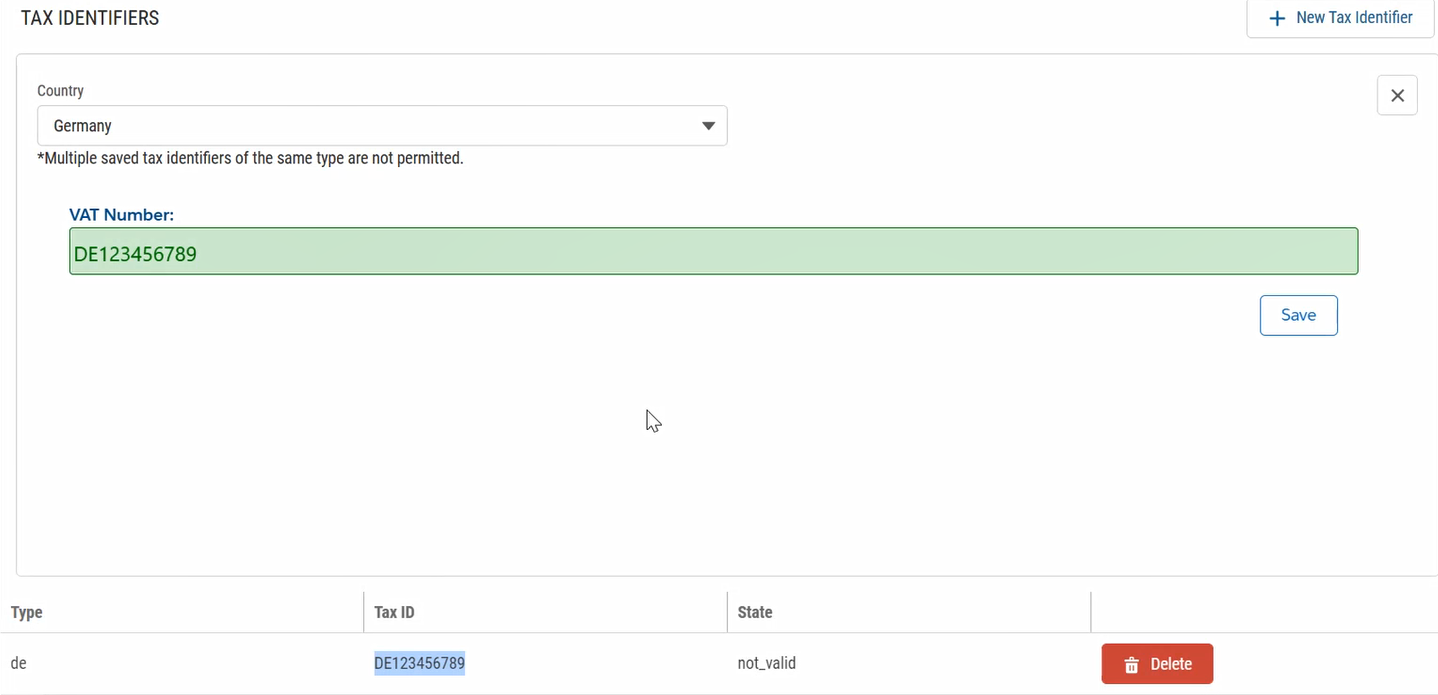 5. Click Save. A message about the added tax identifier appears.
{% hint style="info" %}
A single tax identifier of each type is permitted. If a tax identifier already exists, the following message appears:
5. Click Save. A message about the added tax identifier appears.
{% hint style="info" %}
A single tax identifier of each type is permitted. If a tax identifier already exists, the following message appears:
 {% endhint %}
## Delete the tax identifier
To delete a tax identifier:
1. Click **Delete** next to the tax identifier you want to remove.
2. Click **Confirm**.

## Using tax identifiers within checkout
You can save new tax identifiers, delete existing tax identifiers, or apply saved tax identifiers on the order review page as part of the checkout process.
To use tax identifiers during checkout:
1. Sign in to the store.
2. Add the items to the cart and proceed through the checkout flow until you get to the **Order Review** page.
{% endhint %}
## Delete the tax identifier
To delete a tax identifier:
1. Click **Delete** next to the tax identifier you want to remove.
2. Click **Confirm**.

## Using tax identifiers within checkout
You can save new tax identifiers, delete existing tax identifiers, or apply saved tax identifiers on the order review page as part of the checkout process.
To use tax identifiers during checkout:
1. Sign in to the store.
2. Add the items to the cart and proceed through the checkout flow until you get to the **Order Review** page.
 The Tax identifier section will only appear when you are buying:|
* **Physical** products and the **shipping address** is a non-US address
* **Digital** products \*\*\*\* and the billing address is a non-US address
* **Mixed** products (**physical and digital**) and the **shipping address** is a non-US address
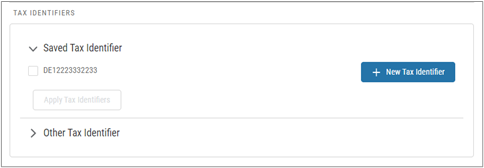
3. On the **Order Review** page, the shopper can select the existing tax identifier from the **Saved Tax Identifiers** section or can apply the tax identifier from the **Other tax identifiers** section.
**Note**: Steps for adding or deleting existing tax identifiers are the same as those on the My Account page.
4. Click **Apply Tax Identifier**. The page will refresh the amount and the tax identifier ID will be stamped in the **DR Tax Identifiers** field of the Cart object.
5. Click **Next** to navigate to the **Payment** page.
## Global tax identifier sequence diagram
{% file src="/files/UPPrmoor9uNL3baduboZ" %}
The Tax identifier section will only appear when you are buying:|
* **Physical** products and the **shipping address** is a non-US address
* **Digital** products \*\*\*\* and the billing address is a non-US address
* **Mixed** products (**physical and digital**) and the **shipping address** is a non-US address
3. On the **Order Review** page, the shopper can select the existing tax identifier from the **Saved Tax Identifiers** section or can apply the tax identifier from the **Other tax identifiers** section.
**Note**: Steps for adding or deleting existing tax identifiers are the same as those on the My Account page.
4. Click **Apply Tax Identifier**. The page will refresh the amount and the tax identifier ID will be stamped in the **DR Tax Identifiers** field of the Cart object.
5. Click **Next** to navigate to the **Payment** page.
## Global tax identifier sequence diagram
{% file src="/files/UPPrmoor9uNL3baduboZ" %}